Table of Contents
Introduction
Are you interested in creating your own custom weapon skin, modifying game textures, or customizing visuals for your favorite Source Engine games?
Popular games such as Counter Strike: Source (CS:Source), Team Fortress 2 (TF2), and Garry’s Mod (GMod) provide the opportunity to modify textures and graphics using VTF (Valve Texture Format).
Customization brings creativity into games, making them unique. For example, some may have realistic weapon skins, funny textures, anime textures, realistic textures, map customization, or any other type of visual customization that players like. Creating textures for mods is one of the most interesting processes of modifying games.
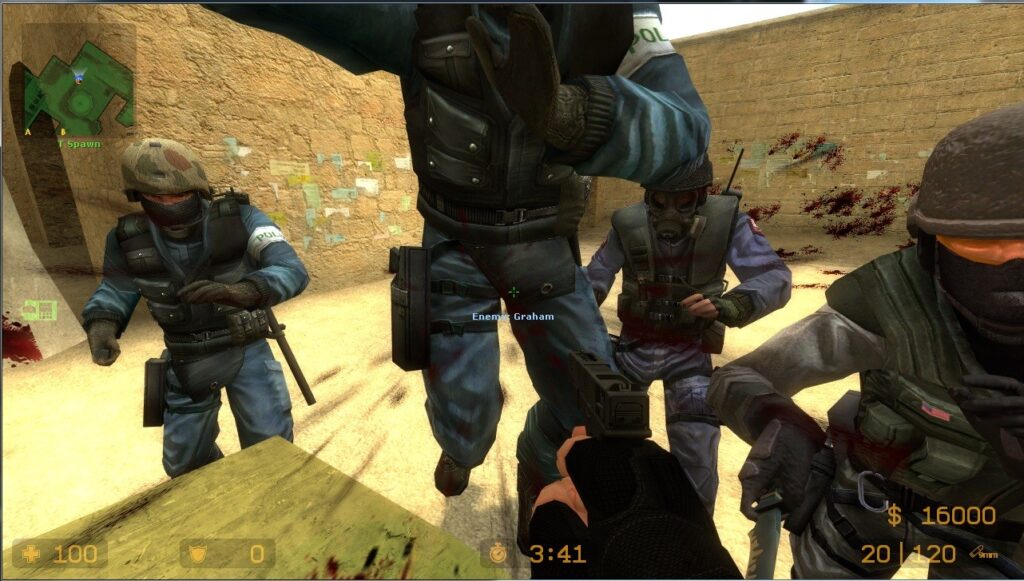
How to Create Custom Textures for CS:Source, TF2 & Garry’s Mod
Best part of all?
You don’t have to be an expert graphic designer or programmer.
In this beginner-friendly tutorial, you will be guided through the process of creating custom textures and converting PNG images into game-ready VTF texture files with pngtovtf.com.
What are Custom Textures?
Textures are graphics used on objects within the game.
Types of textures are:
• Weapon skins
• Character clothing
• Built structures
• Pavements
• Vehicle surfaces
• Game menus
• Logos/decals
For instance:
While a typical weapon skin in Counter Strike might be rather dull,
you can modify the texture to produce:
• golden weapon skins,
• neon textures,
• military patterns,
• Anime graphics, and
• custom-made logos.
Texturing transforms a game entirely.
Why Modify VTF Textures?
There are numerous reasons why gamers prefer to design their own custom textures since they:
• individualize your gaming experience,
• enhance the quality of game graphics,
• make your game more amusing with funny textures,
• have an opportunity to learn game modding skills, and
• can share your creations with other gamers online.
Popular Source Engine Games Using Custom VTF Textures
The following games using the Source Engine support texture modification.
Counter Strike: Source
Common types of modifications are:
• Weapon skins
• Spray logos
• HUD designs
• Map textures
Team Fortress 2 (TF2)
Customization is popular for:
• Character cosmetics
• Weapon textures
• Improved UI
• Funny texture modifications
Garry’s Mod
Gmod allows endless creativity.
Users modify:
• Custom materials
• Multiple maps
• Multi-purpose props
• Textures
What You Need Before Getting Started
Texture creation is much simpler than beginners expect.
All you need are just a few basic items.
1. Texture Editor
There are various software applications for creating textures:
• Photoshop
• GIMP (Free Software)
• Paint.NET
• Canva
• Krita
You do not have to be an expert to create great-looking textures.
2. PNG Image Format
Almost all textures begin as PNGs.
It is better because:
• Quality images
• Has support for transparent backgrounds
• Editable
3. PNG to VTF Converter
Some Source engine games do not recognize PNG.
Conversion of PNG to VTF is required.
This process can be done at pngtovtf.com.
How to Make Custom Textures Step by Step
Let’s take it one step at a time.
Step 1: Decide What You Want to Customize
Choose the part you wish to customize first.
Examples:
Weapons
• Guns
• Knives
• Explosives
Character Textures
• Clothing
• Faces
• Accessories
Environment
• Walls
• Roads
• Buildings
• Grass
UI elements
• Menus
• HUD Graphics
Start with something easy.
Weapon skins are good for beginners.
Step 2: Make the Texture
Launch your image editor software.
Make your custom texture using PNG format.
Hints for better textures:
Use High Resolution
Best texture resolutions are:
• 256×256
• 512×512
• 1024×1024
The higher the resolution, the better the quality.
Maintain Detail Sharpness
Do not use blurry pictures.
Include:
• Top-notch graphics
• Smooth edges
• Clarity in logos
Use Transparency If Necessary
Transparency in PNG is useful for:
• Logos
• Decals
• Effects
Step 3: Export PNG File
After creating the texture:
Save it as a PNG file.
PNG files maintain high quality images.
It will be your source file.
Step 4: Convert PNG to VTF
Time to turn the texture into a format compatible with Source Engine games.
Go to pngtovtf.com.
Then follow these easy steps:
Upload PNG File
Select the texture picture.
Proceed with conversion
Click “convert”.
The software turns the image into VTF.
Download VTF File
After the process is finished, download the VTF texture file.
Now the file can be used in Source Engine games.
Step 5: Create a VMT File
VMT files are usually forgotten by newbies.
A VMT (Valve Material Type) file specifies how the texture should be used within the game.
Just imagine:
• VTF = Texture Image
• VMT = Texture Settings
With no VMT files, the texture might not show up in game.
Step 6: Place the Files into the Game Folder
Place your VTF and VMT files into the corresponding game directory.
The folders depend on the game, but typically, textures must be placed within:
materials folder
Like so:
materials/custom/
Step 7: Launch Game and Test
Run your game.
Test to see if:
• The texture is loaded properly
• The transparency feature works
• The texture’s quality is great
• Any missing textures exist
In case there are any issues, make changes to your PNG file and rerun it.
Professional Techniques for Great Custom Textures
Here are some techniques used by professionals to get better custom textures.
Power of Two Textures
Games in Source Engine run best with textures having dimensions of:
• 128×128
• 256×256
• 512×512
• 1024×1024
Do Not Make Your Files Too Big
It can lower your FPS.
Striking a balance between the two is necessary.
Try Various Compression Methods
Sometimes textures require certain settings for better performance.
Test until satisfied with the outcome.
Back Up Game Files First
Always make copies of your original game files.
This avoids unwanted issues.
Texture Problems and How to Fix Them
These are common mistakes among beginners.
Below are solutions to these mistakes.
The Texture is Purple or Black
The reason is usually:
• A missing vmt file
• Faulty directory
• Invalid texture path
The Texture Is Blurry
Make sure to use high-quality PNG files.
Also ensure high resolution.
Missing Alpha Transparency
Make sure the setting is correct.
The Texture Will Not Load
Causes include:
• Wrong file name(s)
• Wrong folder path
• Not supported resolution
Frequently Asked Questions
Can novices create custom textures?
Yes. Beginners can even create simple textures.
Do I need Photoshop?
Not necessarily. Free alternatives such as GIMP suffice.
Why Source engine games require VTF?
It ensures better compatibility and performance.
Is pngtovtf.com free?
Yes. PNG to VTF conversion is free at pngtovtf.com.
Why my textures disappear?
Usually because of missing VMT files or improper folders.
Conclusion
Customizing textures for CS:Source, TF2, and Garry’s Mod is not that hard as it seems.
It requires following several steps:
Create PNG Image → Convert to VTF → Install to Game → Get Custom Texture!
Be it realistic weapon skins, anime-style textures, funny memes or professional maps’ textures – learning how to create VTF textures will open you unlimited options.
And the secret is start small.
Avoid wasting your time trying to understand complex software and simply utilize our free tool pngtovtf.com to turn PNG images to VTF game textures.